
How to add a telemetry overlay to Insta360 360 video
Open the Insta360 .insv file directly in Telemetry Studio, aim the 360 camera where you want it, add the FIT or GPX file from your bike computer or watch, and click Auto Sync This Clip. Your speed, power and heart rate appear on the video, and you export a normal flat video for YouTube, Instagram or Strava.
You don't need to export from Insta360 Studio first, and you don't need GPS on the camera: the sync matches the turns the camera felt to the turns in your ride.
What you need
- The .insv file(s) from your Insta360 camera, copied straight off the card.
- The FIT or GPX file of the same ride from your Garmin, Wahoo, Coros or watch, or a Strava account with the ride on it.
- Telemetry Studio for macOS or Windows. 360 is part of Pro, which the 14-day free trial includes.
01Open the .insv file
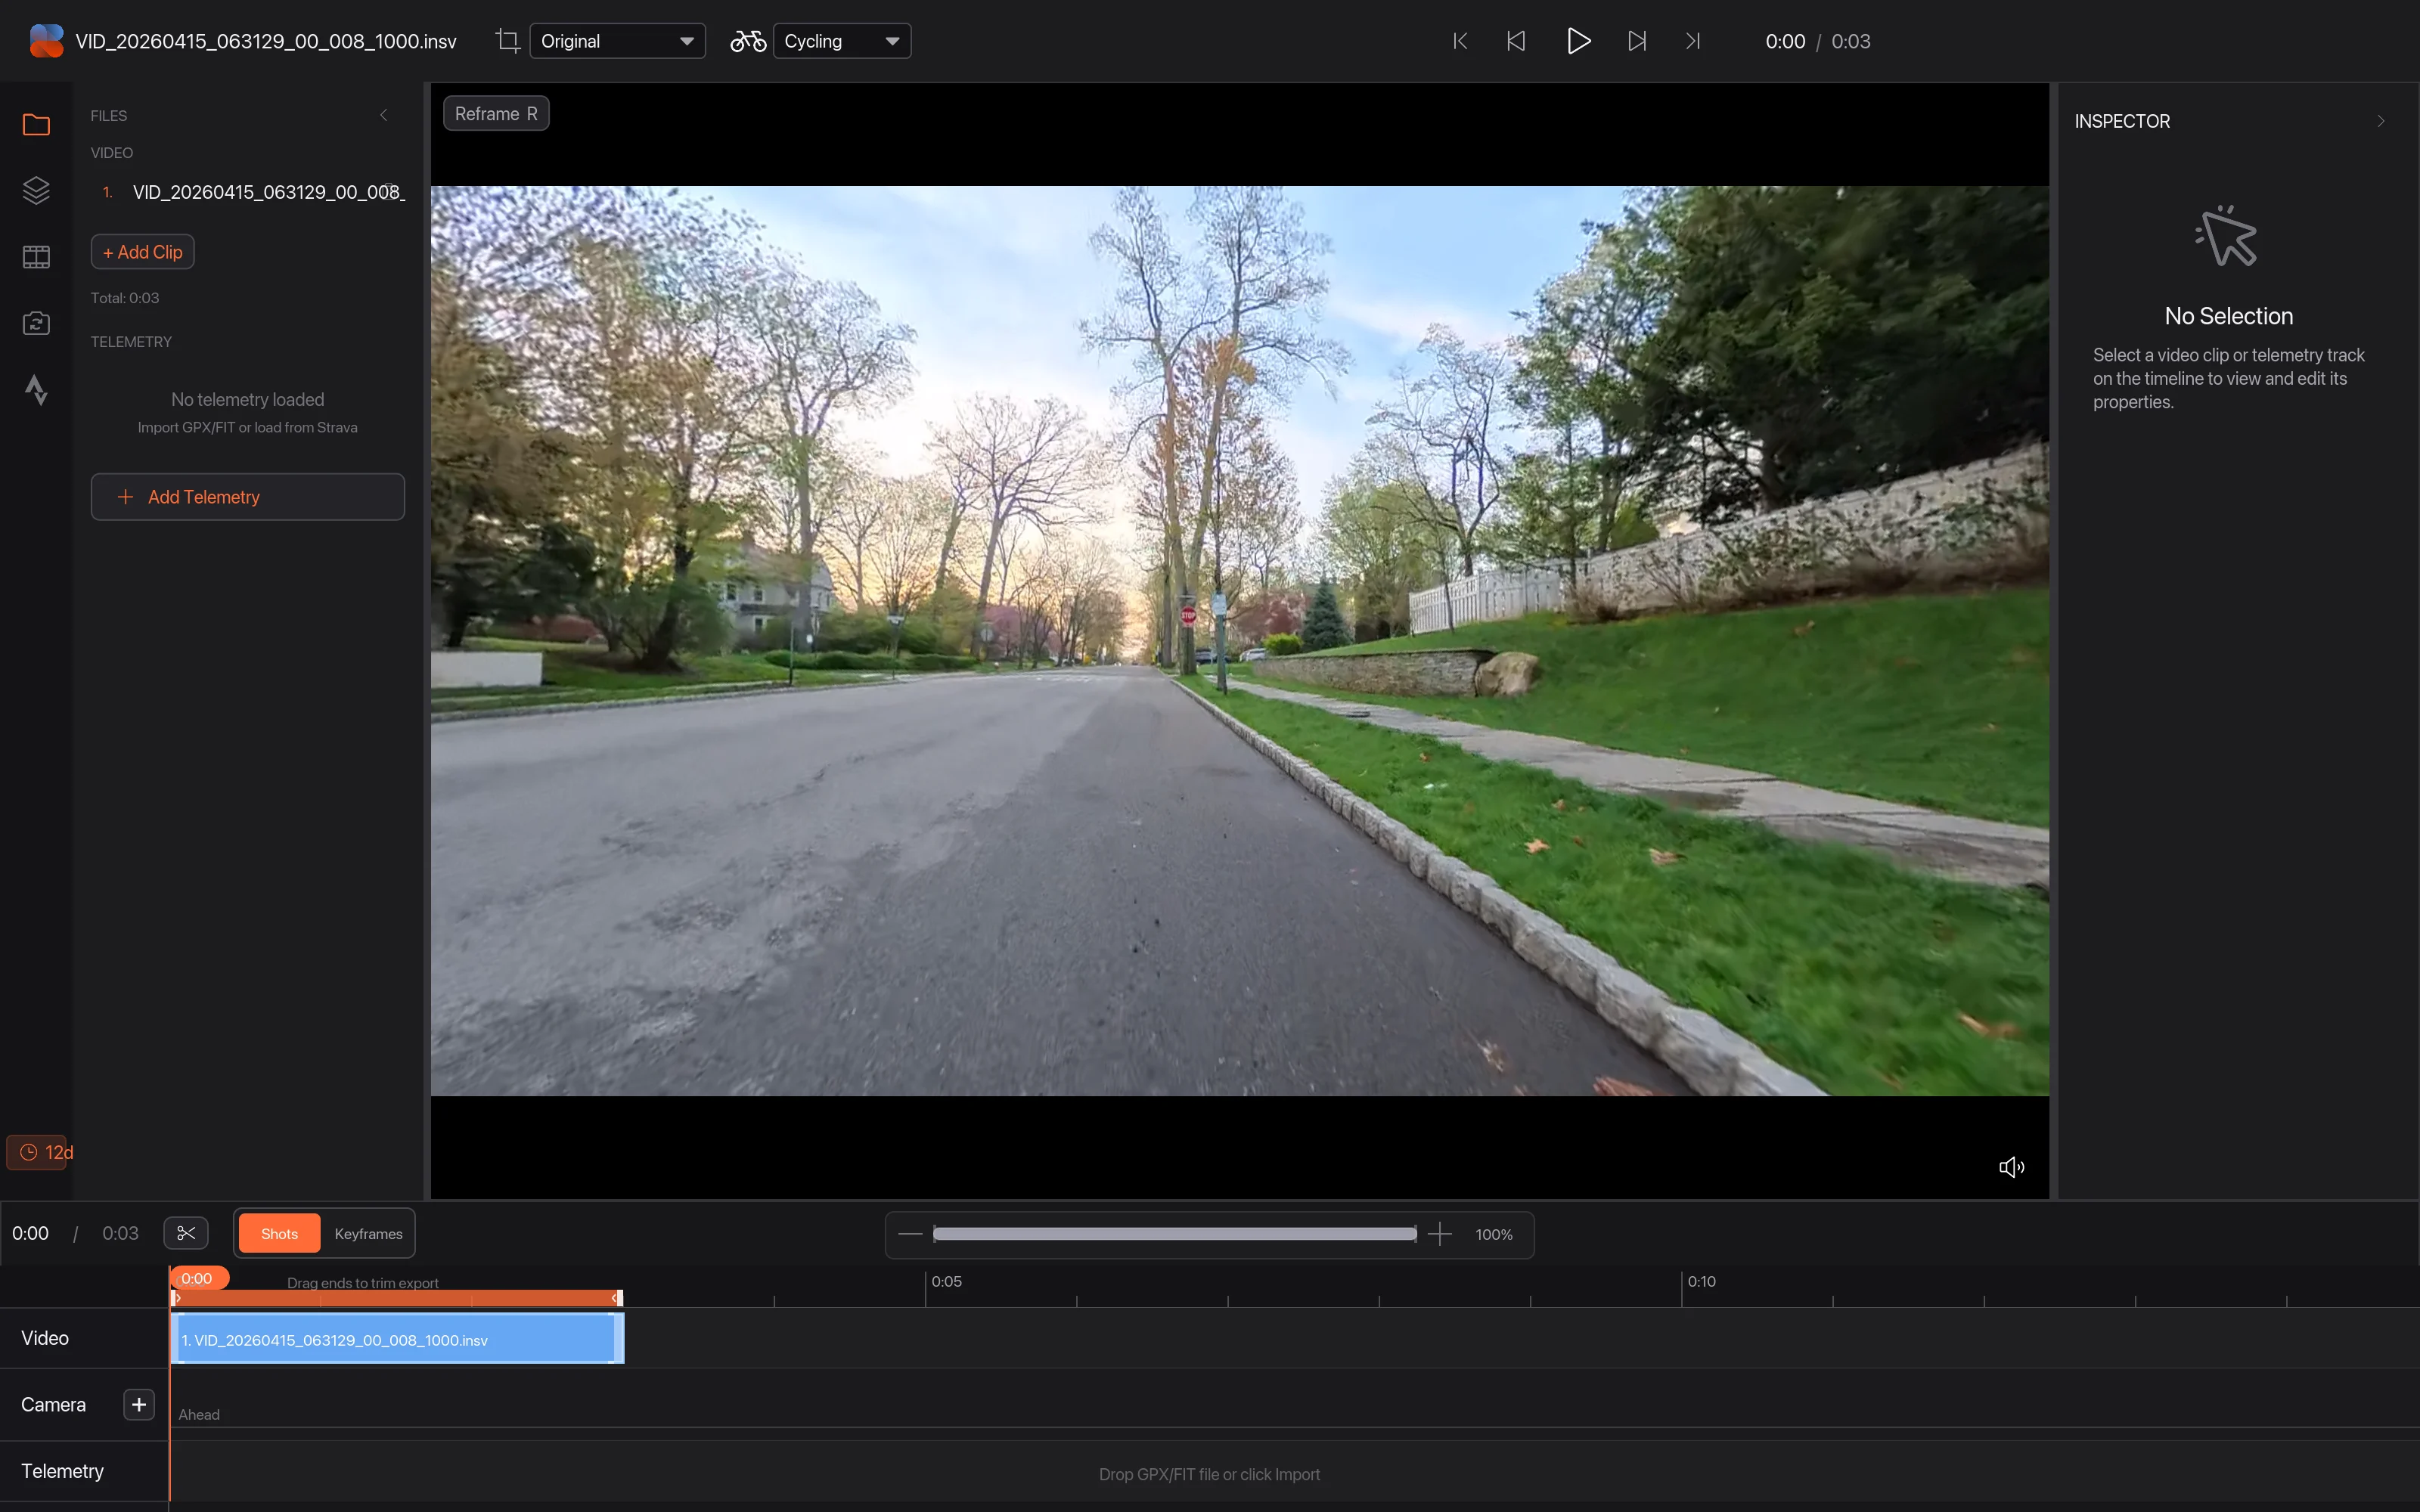
Click Open Video and choose the .insv file. It plays stitched and level straight away. A long ride split across several files? Open them together and they play as one. You get a Reframe button 1, a Moves tab 2 and a Camera lane on the timeline 3.
02Aim the camera
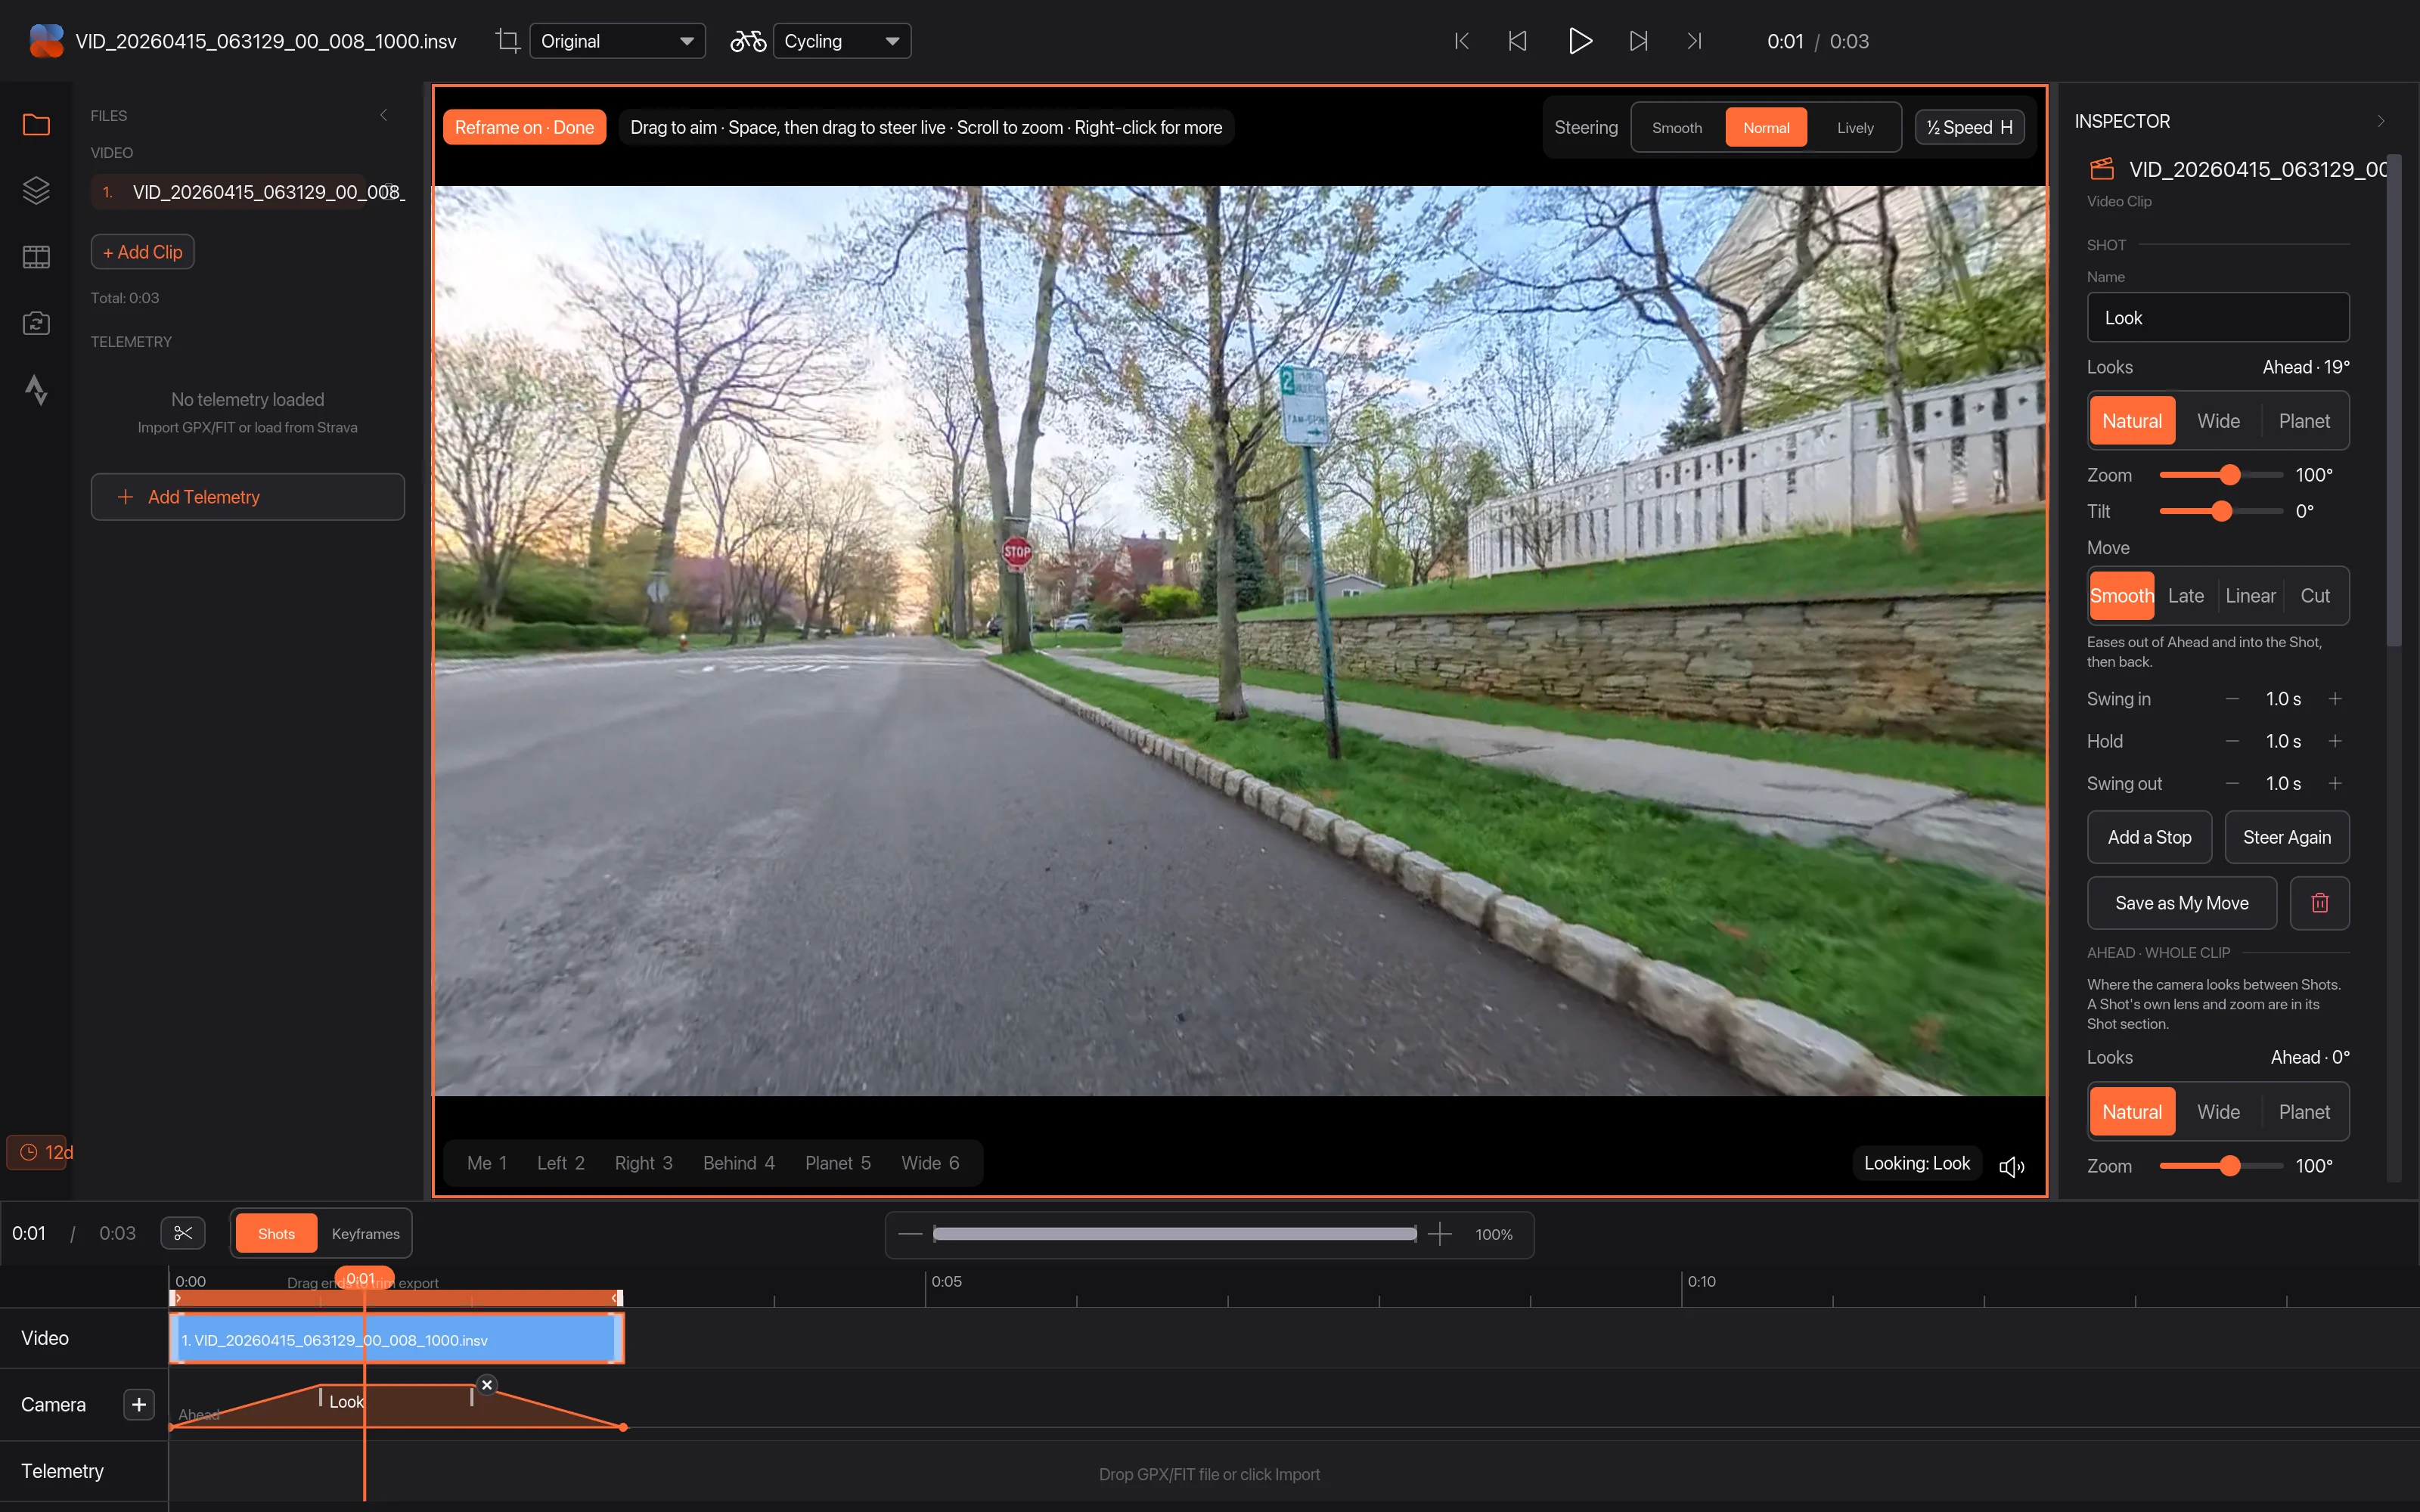
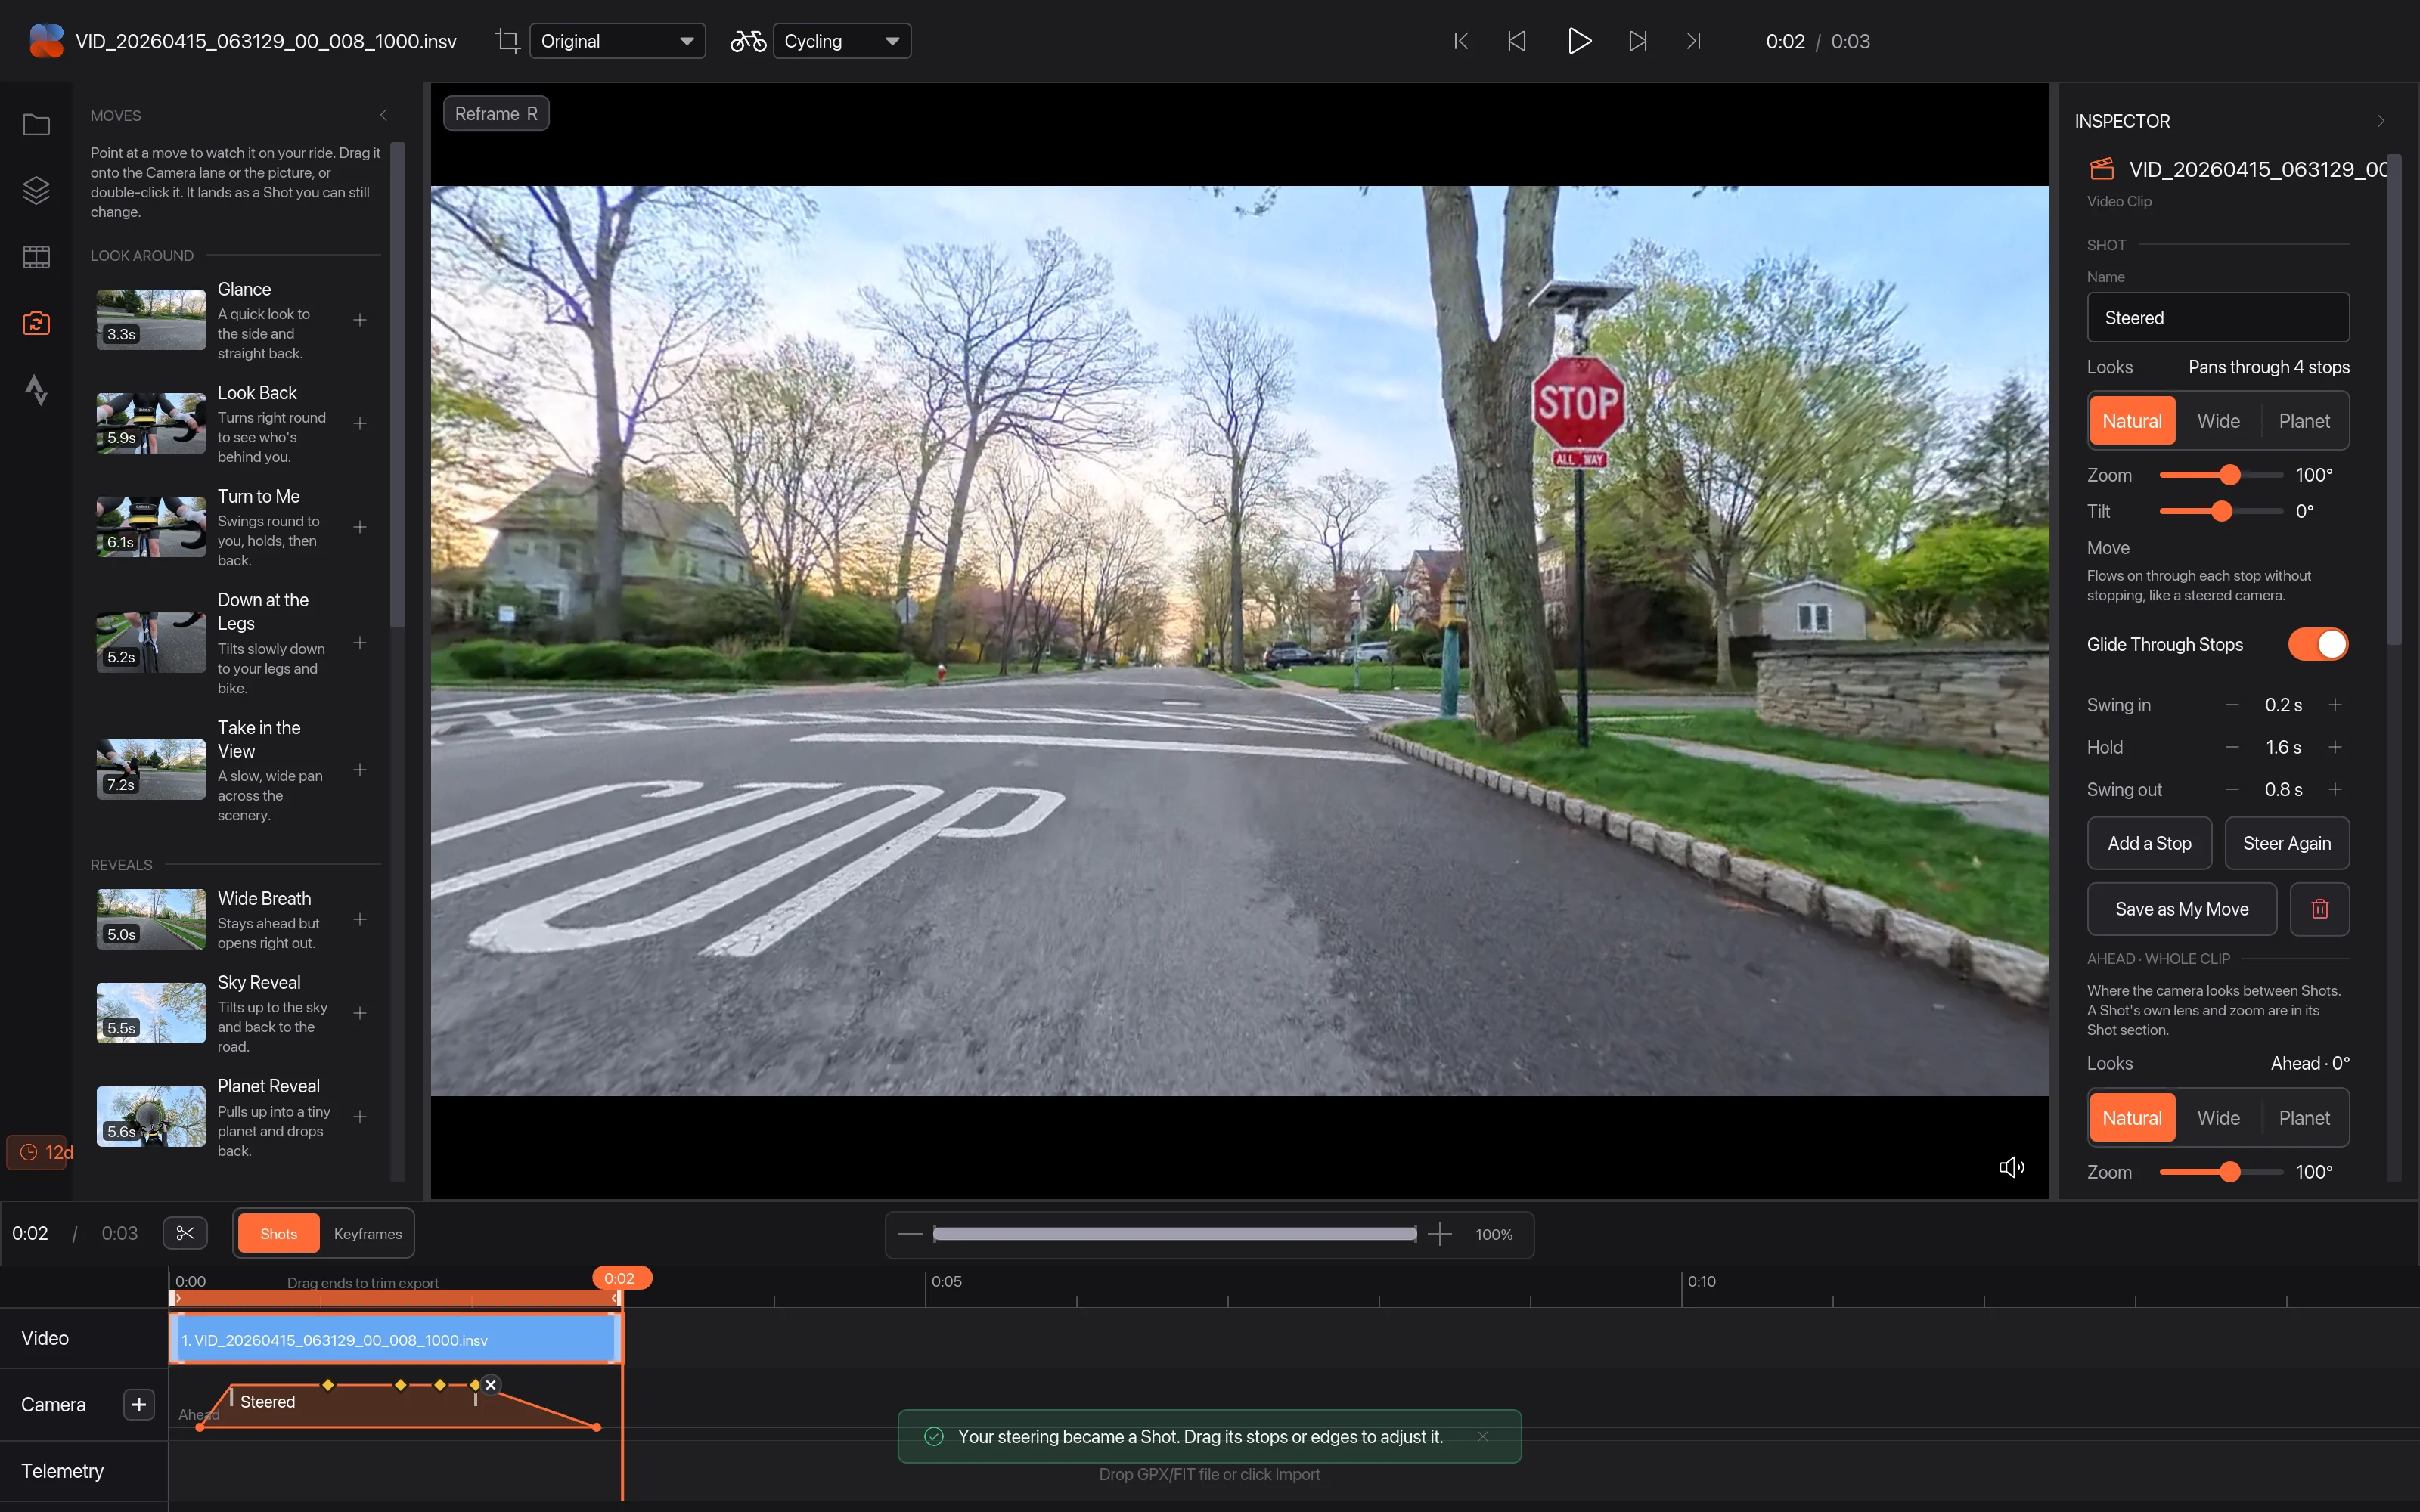
Press R and drag the picture to look around. Number keys jump to ready views 2: 1 looks back at you, 4 behind, 5 tiny planet. Each change becomes a Shot on the Camera lane 3. You can also steer live while it plays, or drop in a ready-made move from the Moves tab.
Every camera control is explained in the 360 video docs.
03Add your FIT or GPX file
Insta360 cameras don't save your speed or location in a form you can use, so the data comes from your bike computer or watch. In the Files tab click Add Telemetry and choose the FIT or GPX file, or connect Strava and pick the ride. FIT files carry the most: power, heart rate and cadence as well as speed and elevation.
04Auto Sync by the camera's turns
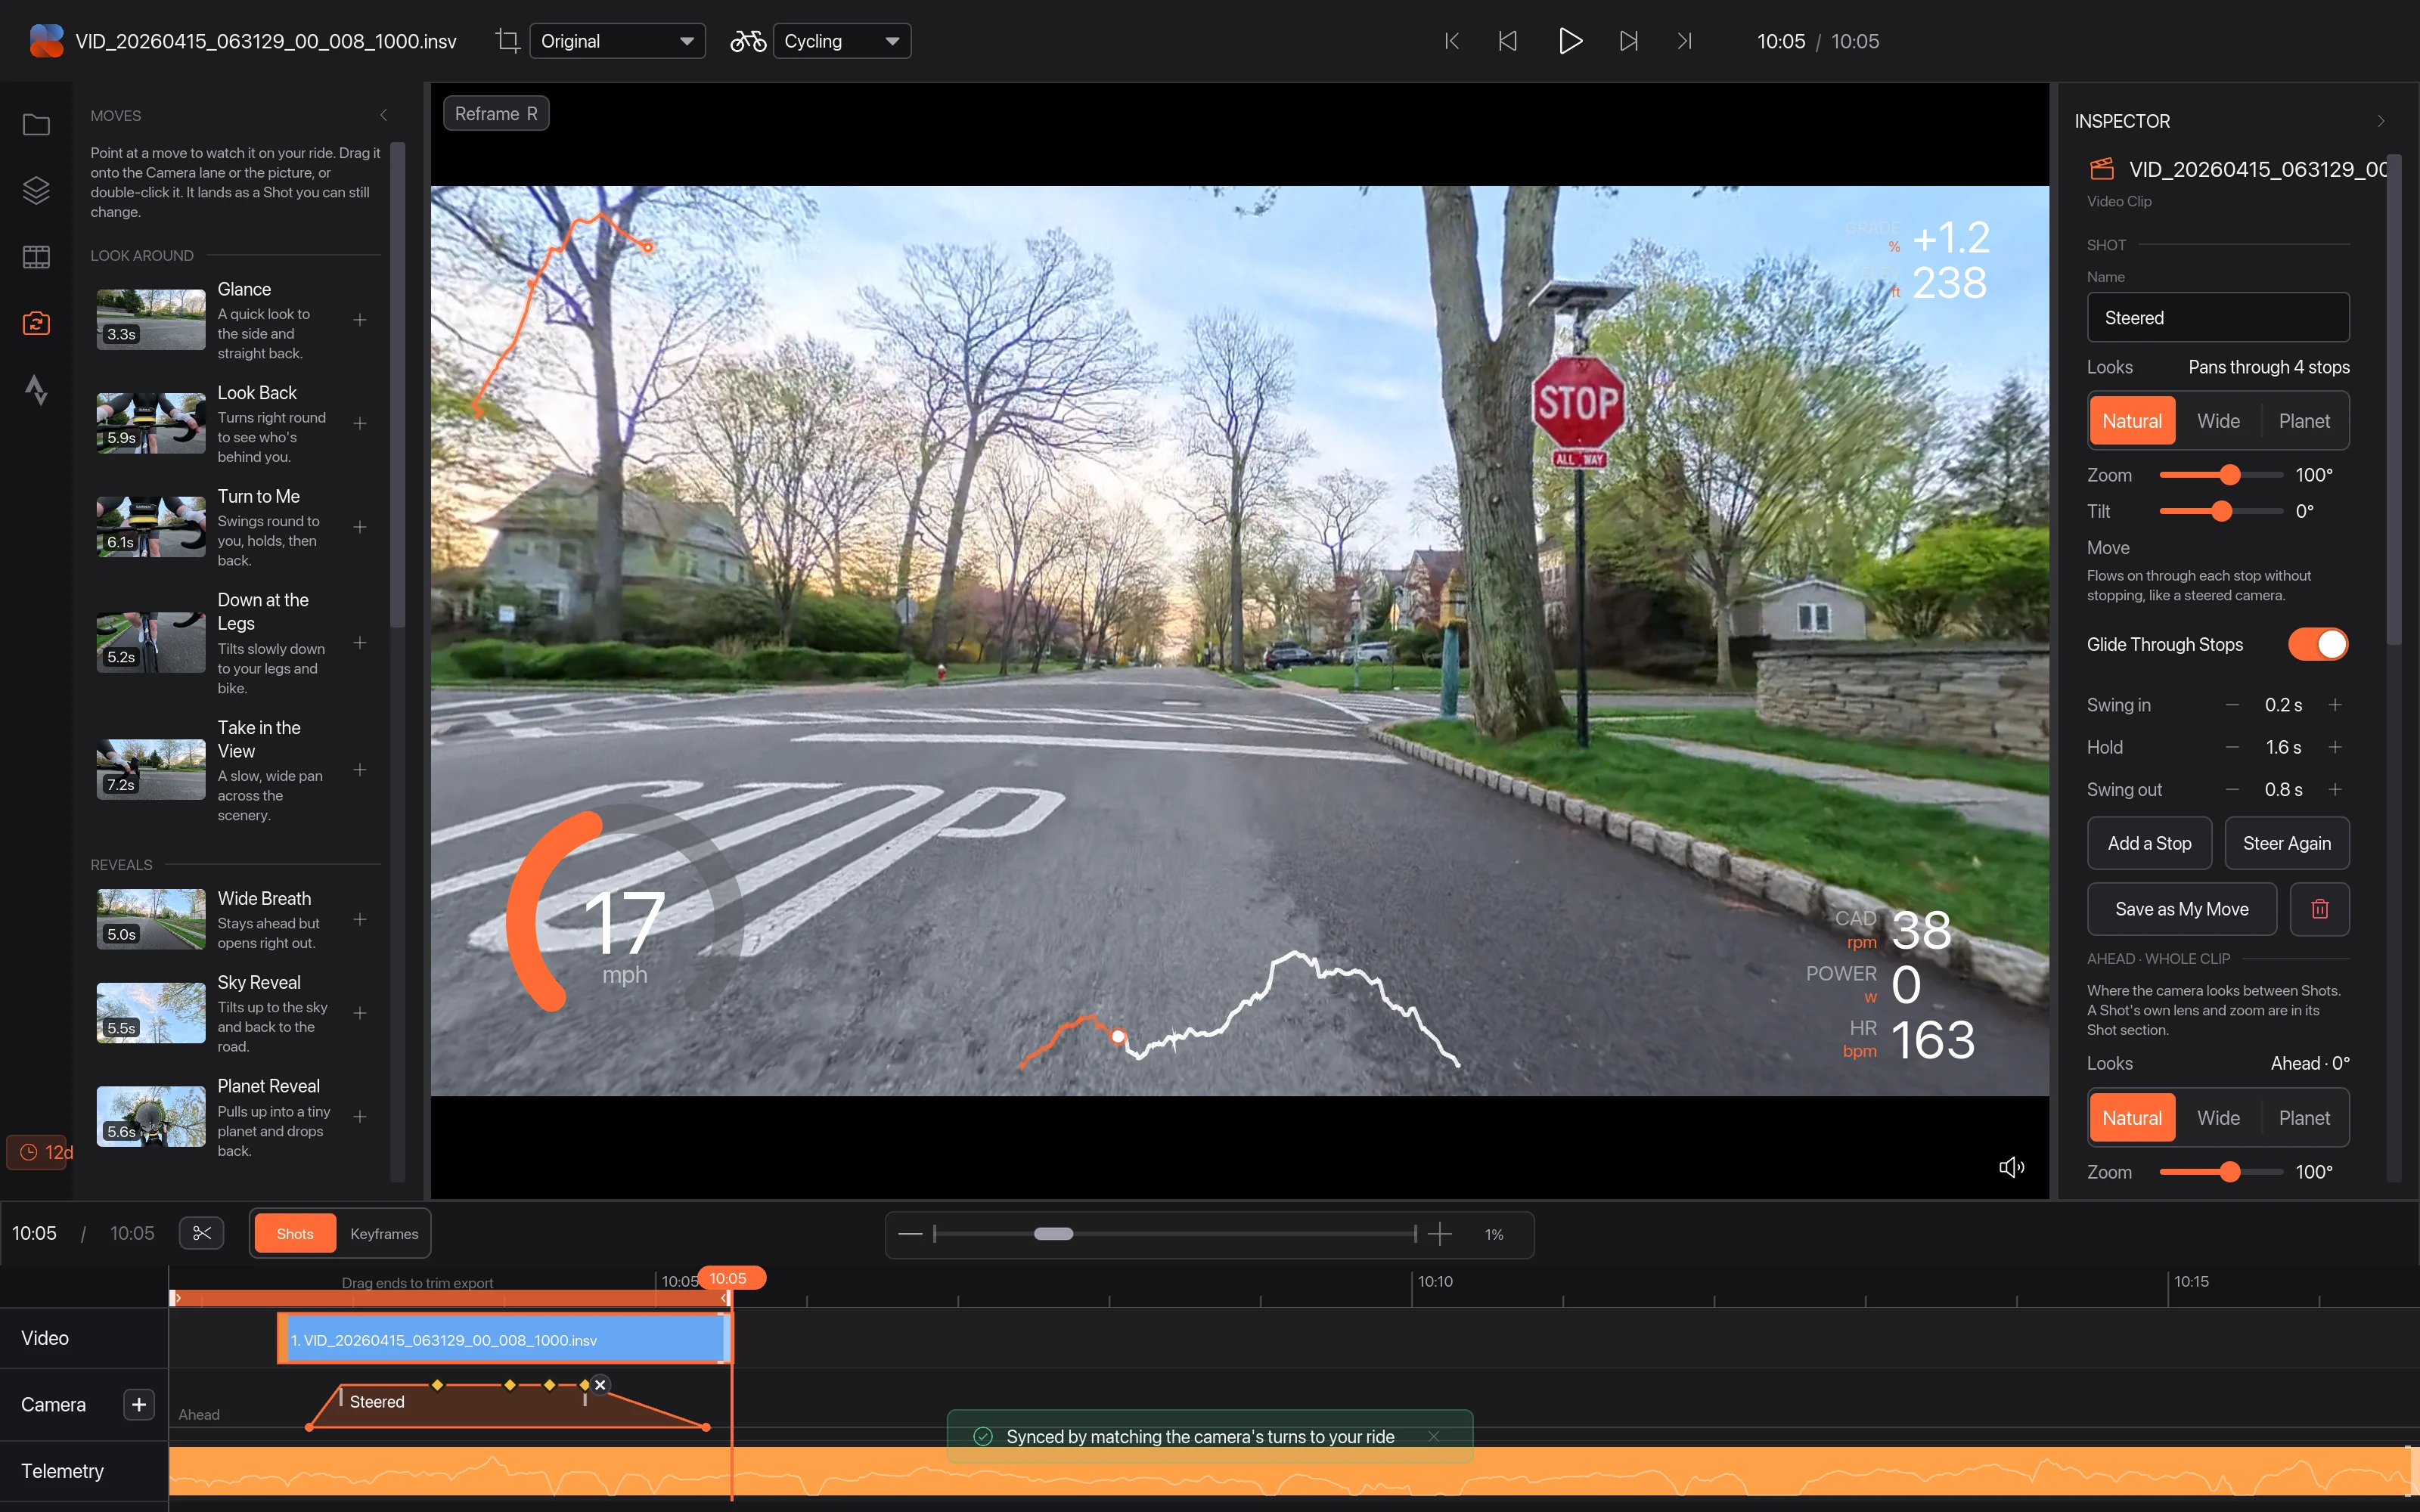
Right-click the clip and choose Auto Sync This Clip 1.
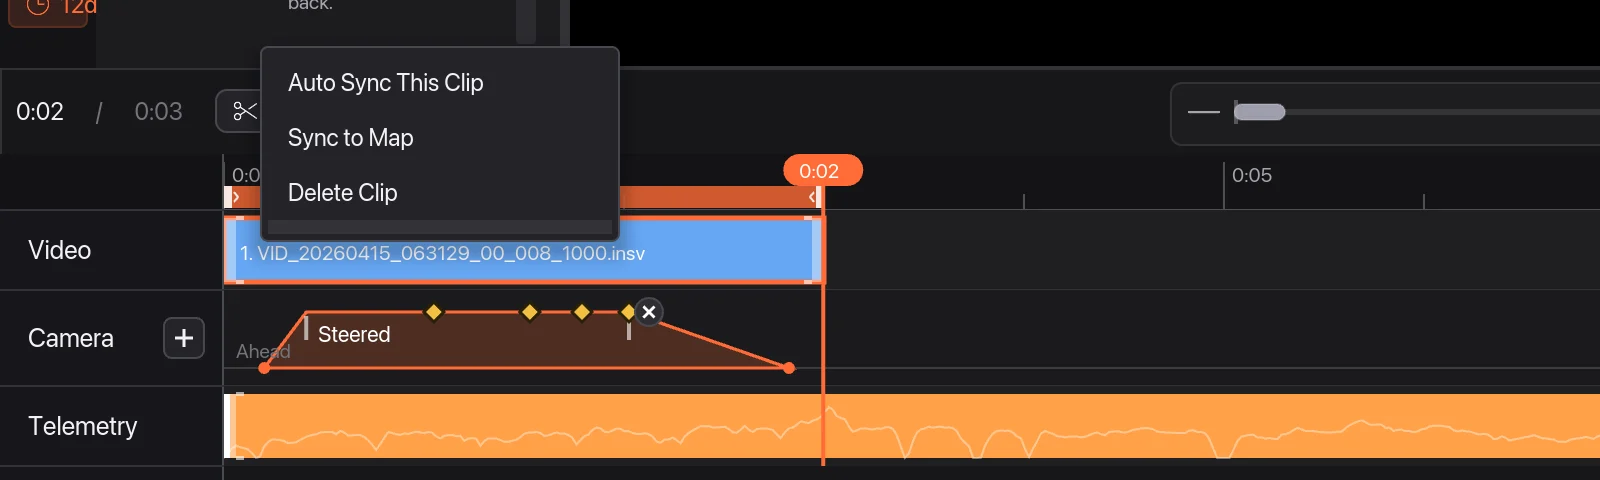
Telemetry Studio compares the turns the camera's motion sensor felt with the turns in your GPS track, so the two line up even if the camera's clock was wrong 1. Your speed 2 and other data 3 now follow the video.
05Pick overlays and export
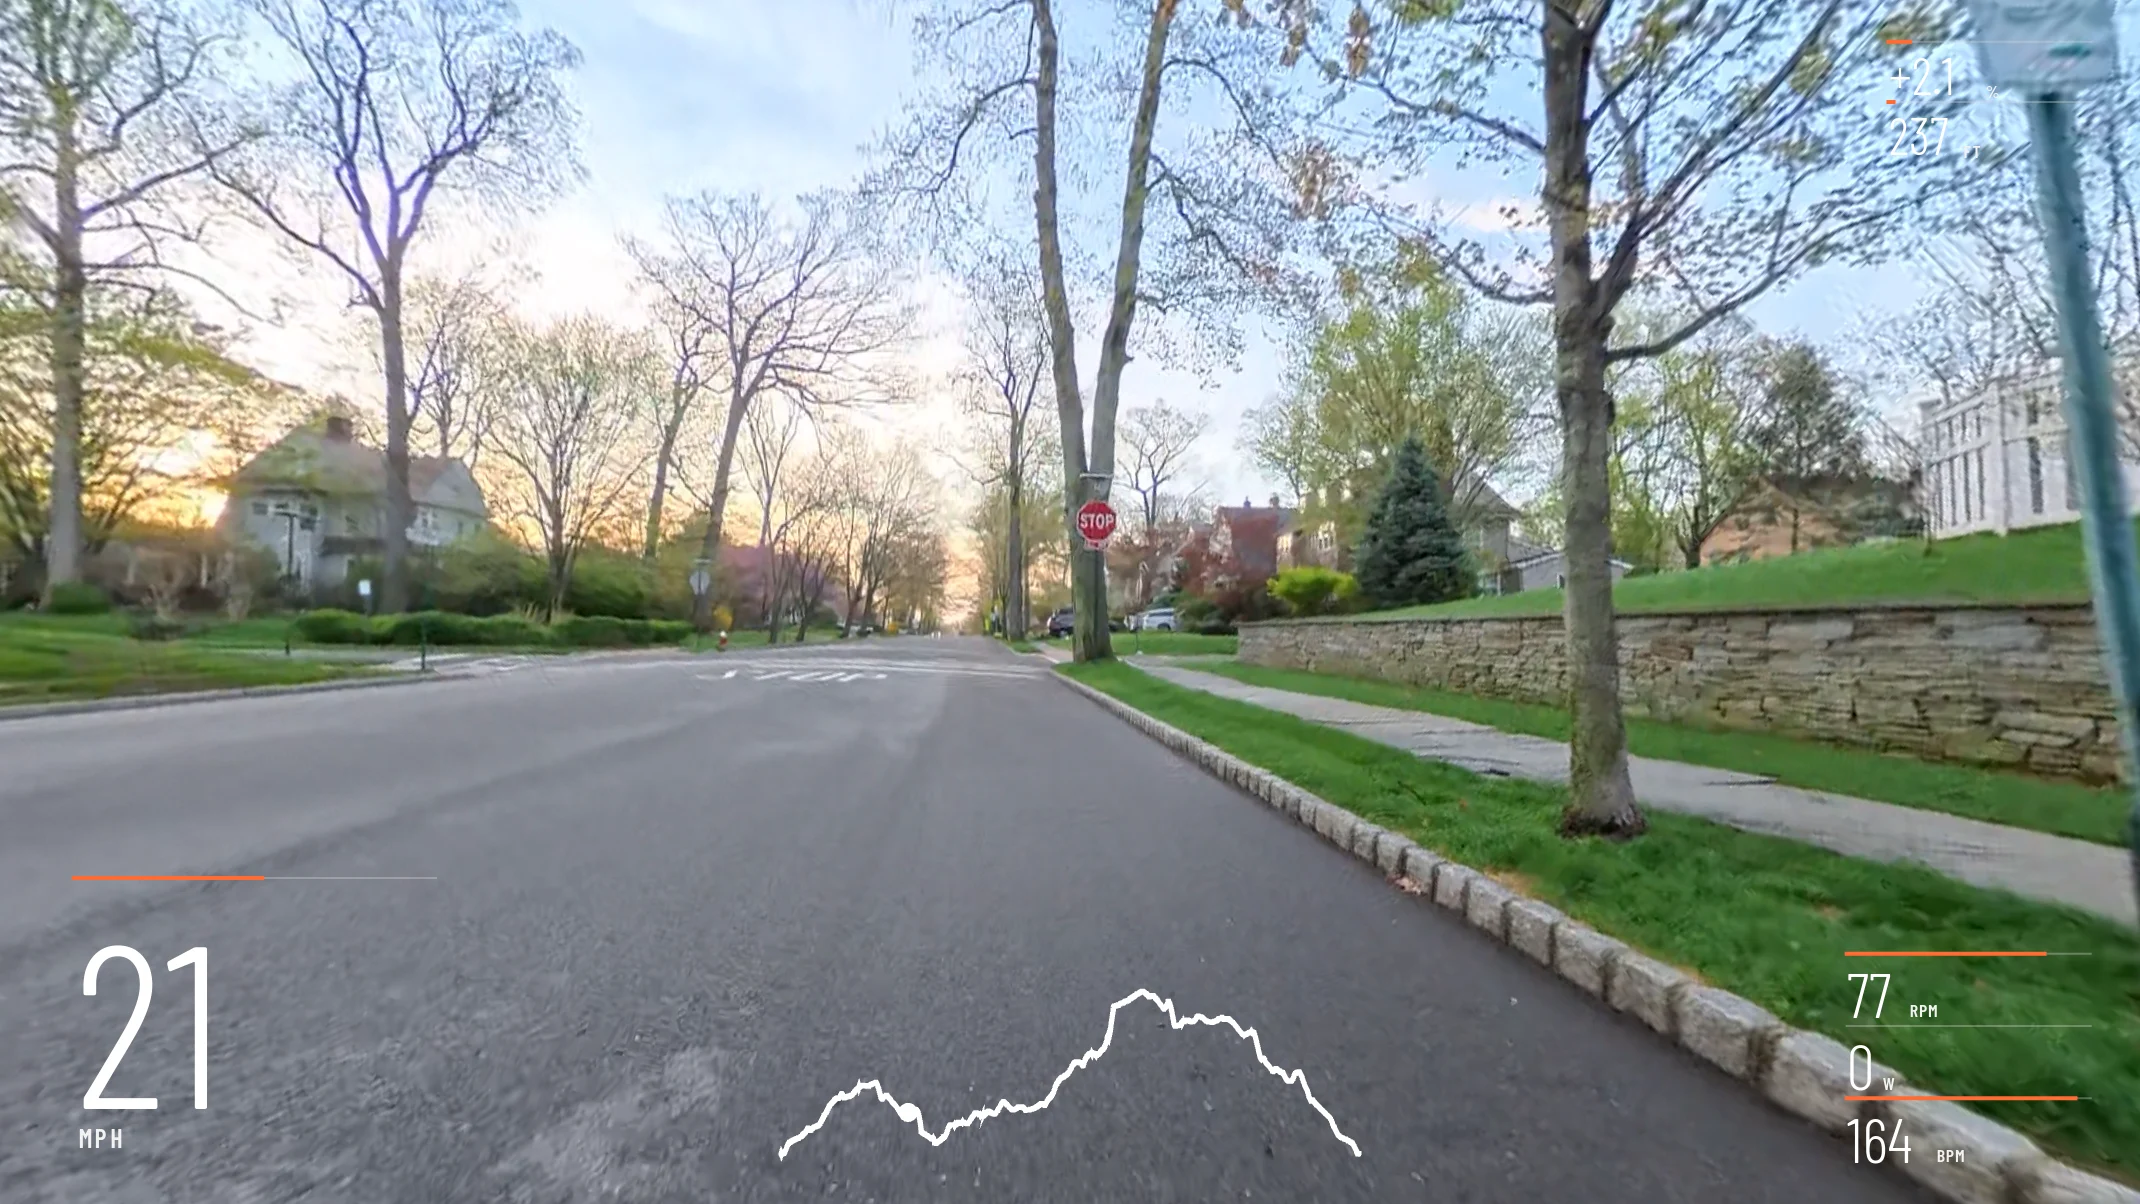
Add or move overlays in the Overlays tab, choose a theme, then File › Export Video… (⌘ E, or Ctrl E on Windows). The export is a flat, reframed video up to 4K: 16:9 for YouTube, 9:16 for Reels and Shorts, or square.
What about Insta360 Studio's Stats Dashboard?
Insta360 Studio has a free Stats Dashboard of its own. It can import GPX and FIT files (Studio 5.7.6 and later) or your Garmin data, and it's the simplest option if you only want speed and a route. According to Insta360's manual (checked November 2026), the desktop dashboard shows speed, distance, altitude, gradient, pace and route, but not heart rate, power or cadence, and you choose from fixed templates.
Telemetry Studio adds power, heart rate, cadence and around 70 other overlays that you place and style yourself, Strava segments, and sync by the camera's turns. Both export a flat, reframed video with the stats; neither exports the stats inside a 360 video.
Related
More guides
- Garmin VIRB Edit alternative: what to use in 2026
- Telemetry Studio vs Telemetry Overlay: an honest comparison
- DashWare alternative: data overlays for your video in 2026
- How to add Garmin data to GoPro video (speed, power, heart rate)
- How to add pace and heart rate to your running video
- How to add lap times, speed and g-force to track day video
- Telemetry Studio vs RaceRender: an honest comparison
- How to add DJI flight data (altitude, distance, route) to drone video
- How to add speed and altitude to ski and snowboard video
- All guides and comparisons
- Frequently asked questions